How To Manage Your Lightroom Catalog When Travelling
Capturing incredible images of the places we visit and the people we meet is why we love travel photography. But there’s nothing worse than losing those precious memories because of some catastrophic failure or event:
SD card failure
HD failure on your laptop
Camera and or laptop get stolen, lost or damaged
It’s one of those things that doesn’t happen very often, but it’s impact can be massive when it does.
In this article I cover how to put in place an easy system to give you peace of mind regardless of whether you’re on the road for two weeks or two months.
Who Is This For?
This is for users of Lightroom Classic (LrC) whose main catalog is not stored on a laptop, (which it shouldn’t be when you’re travelling).
With this method, you’ll set up a temporary catalog on your laptop with a backup strategy for some safety and redundancy and then import that catalog back into your main LrC catalog when you get home.
Please note, if you’re installing a new version of LrC on your laptop or have made any adjustments to any Presets or tagging options, then these will need to be synchronised separately and this article doesn’t cover that.
(P.S there are no affiliate links in this article)
The Set Up
You’ll need:
Adobe Lightroom Classic
1 x Hard Disk Drive (It will be up to you how much you want to spend. I use a Western Digital 1TB HDD which is sufficient for my needs.)
Backup software to automate backups to your HDD. I use Carbon Copy Cloner for the Mac to run this. (If you’re using a PC you’ll need to search for Windows alternatives to Carbon Copy Cloner)
Set Up A New Lightroom Classic Catalog
On your laptop in Lightroom go to File > New Catalog
Create a name for your new catalog. I tend to call it whatever the name of the trip is. This summer for instance was simply: SUMMER 2022
Save the catalog in the same folder that Lightroom was installed on your computer.

Set Up Carbon Copy Cloner
1. In Carbon Copy Cloner go to Task > New Backup Task

2. Name the task: Travel Backup (or whatever you want)

3. Select the Source folder to be backed up. You want to select the main folder where you just created your new temporary catalog. In my case this was the SUMMER 2022 folder:

4. Connect your HDD to your computer and then select it from the Destination window in Carbon Copy Cloner - in the example here, Travel Backup Disk:

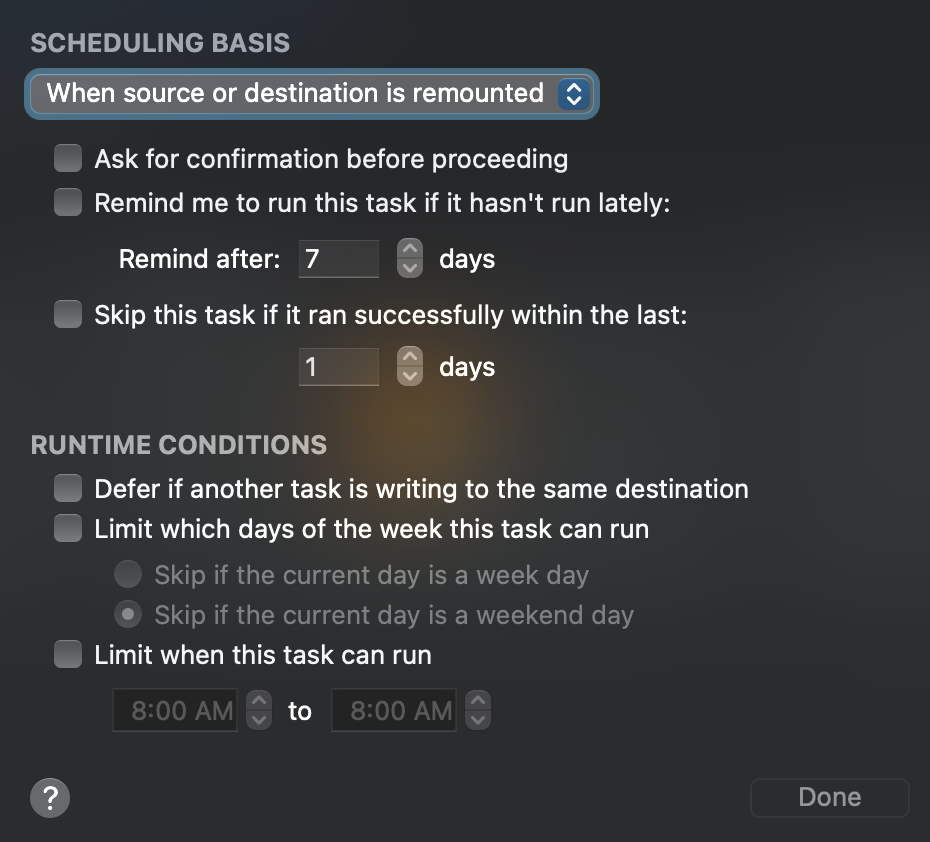
5. Click the Automation box and select: “When source or destination is remounted”. You can leave all the other options unchecked and click Done.
6. Now, every time you connect your HDD drive to your laptop, Carbon Copy Cloner will look inside the folder with your LrC catalog in it and automatically transfer any new or modified files it finds to your HDD. Magic!
7. (Optional) Back up to the Cloud. I use a company called Backblaze to automatically backup the contents of all my computers and safely store these in the cloud. If you’re travelling in places with good WiFi, a service like this adds another layer of backup security. I like Backblaze as it works quietly in the background and is inexpensive.
While You’re Travelling
Keep your photos on their SD cards. e.g. don’t format your cards while you’re travelling
Import your photos to your laptop every time you’re back at your computer. This might be several times per day
After you’ve imported images to your catalog, connect your HDD drive so it automatically backs up
Optional: you might want to carry 2 HDDs (a primary and a backup). You can set up a new task in Carbon Copy Cloner to automatically handle this as well. I’ve done this in more remote places, like Uzbekistan.
When you’re in transit you will most likely have your laptop and camera with you, so you should pack at least 1 back up HDD in a separate back such as your check-in luggage. If you want to be super careful, you can also carry your SD cards on you so that the three versions of the images are being transported separately.
When You Get Home
Now you need to import your photos back into your main LrC catalog. To do this:
1. Attach your HDD drive to your main computer
2. Go to File > Import from Another Catalog

3. Navigate to the catalog folder on your Travel Backup and find the main catalog .lrcat file. In my case that was SUMMER 2022.lrcat and then click Choose

4. You’ll get a new window with some options. Make sure All Folders is selected, unless there’s any that you don’t wish to import.
Under File Handling choose Copy new photos to a new location and import
Click the Choose button and navigate to the location where your main LrC catalog is
Click Import

That’s it. Once you’re satisfied that the your images are safely back in your main LrC catalog and have been properly backed-up, you can re-format all your SD cards and your HDD drives and get ready for the next adventure.
If you have a better way of managing your travel backups, let me know in the comments below.